Sunday, August 22, 2010

Try It, You’ll Like It (Big Flavors for Little Palates)

Anna’s Food at 7 Months


Anna is busy exploring some chunkier textures in her food and even trying to get those pesky little Cheerios into her mouth. So cute!


Here is what a typical day looks like for Anna this summer:

Breakfast: Oatmeal, oatmeal, oatmeal! We eat a lot of oatmeal in this house, we really do. I usually serve about 1/3 cup of oatmeal with a sprinkle of cinnamon or freshly grated nutmeg. Sometimes I add a couple tablespoons of applesauce (all natural, no added sugar) or minced banana for variety. I haven’t been cooking the oatmeal, but rather just letting the milk soak into the oats.

In this picture, Anna is feeding herself some Cream of Wheat. I make a batch of the cereal (or use some leftovers), pour it into a shallow container, and refrigerate. When it is time to serve, I simply cut it into ¼” cubes, warm it slightly, and serve.
Lunch: I can’t resist sharing fresh, local summer fruit with Anna. Branstool Peaches are at the peak of freshness, so there isn’t a good reason not to eat many each day! We have the amazing opportunity of eating peaches at lunchtime that were harvested that morning. I usually cut and peel the peach, then dice it into tiny pieces. Most days I also mix in one plum that has been prepared in the same way. She loves it!

Dinner: Vegetables are usually the focus of our dinners. Anna can eat most vegetables now, but we tend to eat a lot of sweet potatoes, peas, zucchini, yellow squash, acorn squash, butternut squash (oh yes, we love our squash too!), carrots, broccoli, and potatoes. I try to incorporate veggies from our main dinner into Anna’s meal as much as possible. Brown rice often makes an appearance with the veggies; although she likes the flavor, I think she gets frustrated when the grains get stuck in her gums so I try to make it creamy by giving it a quick puree in my Magic Bullet.

Drinking: The sippy cup still feels a little forced, but she likes to sip water from a small, open cup. I am grateful that she is still nursing well and plan to continue until she is one year old.

Saturday, August 21, 2010

All Moved In!

Today I made the leap onto a new blogging platform.  I wasn't happy with the old one I was using and it might have been prohibiting me from posting more.  This one feels a little more comfortable, a little more like home. 

This move today explains why there are so many posts on this one date; I moved all of my old content over from the other site one by one.  Fun.

So this will be my new home for awhile.  I'll be settling in over the next few weeks months.  I hope you will join me.

It All Started With A Purple Bean...

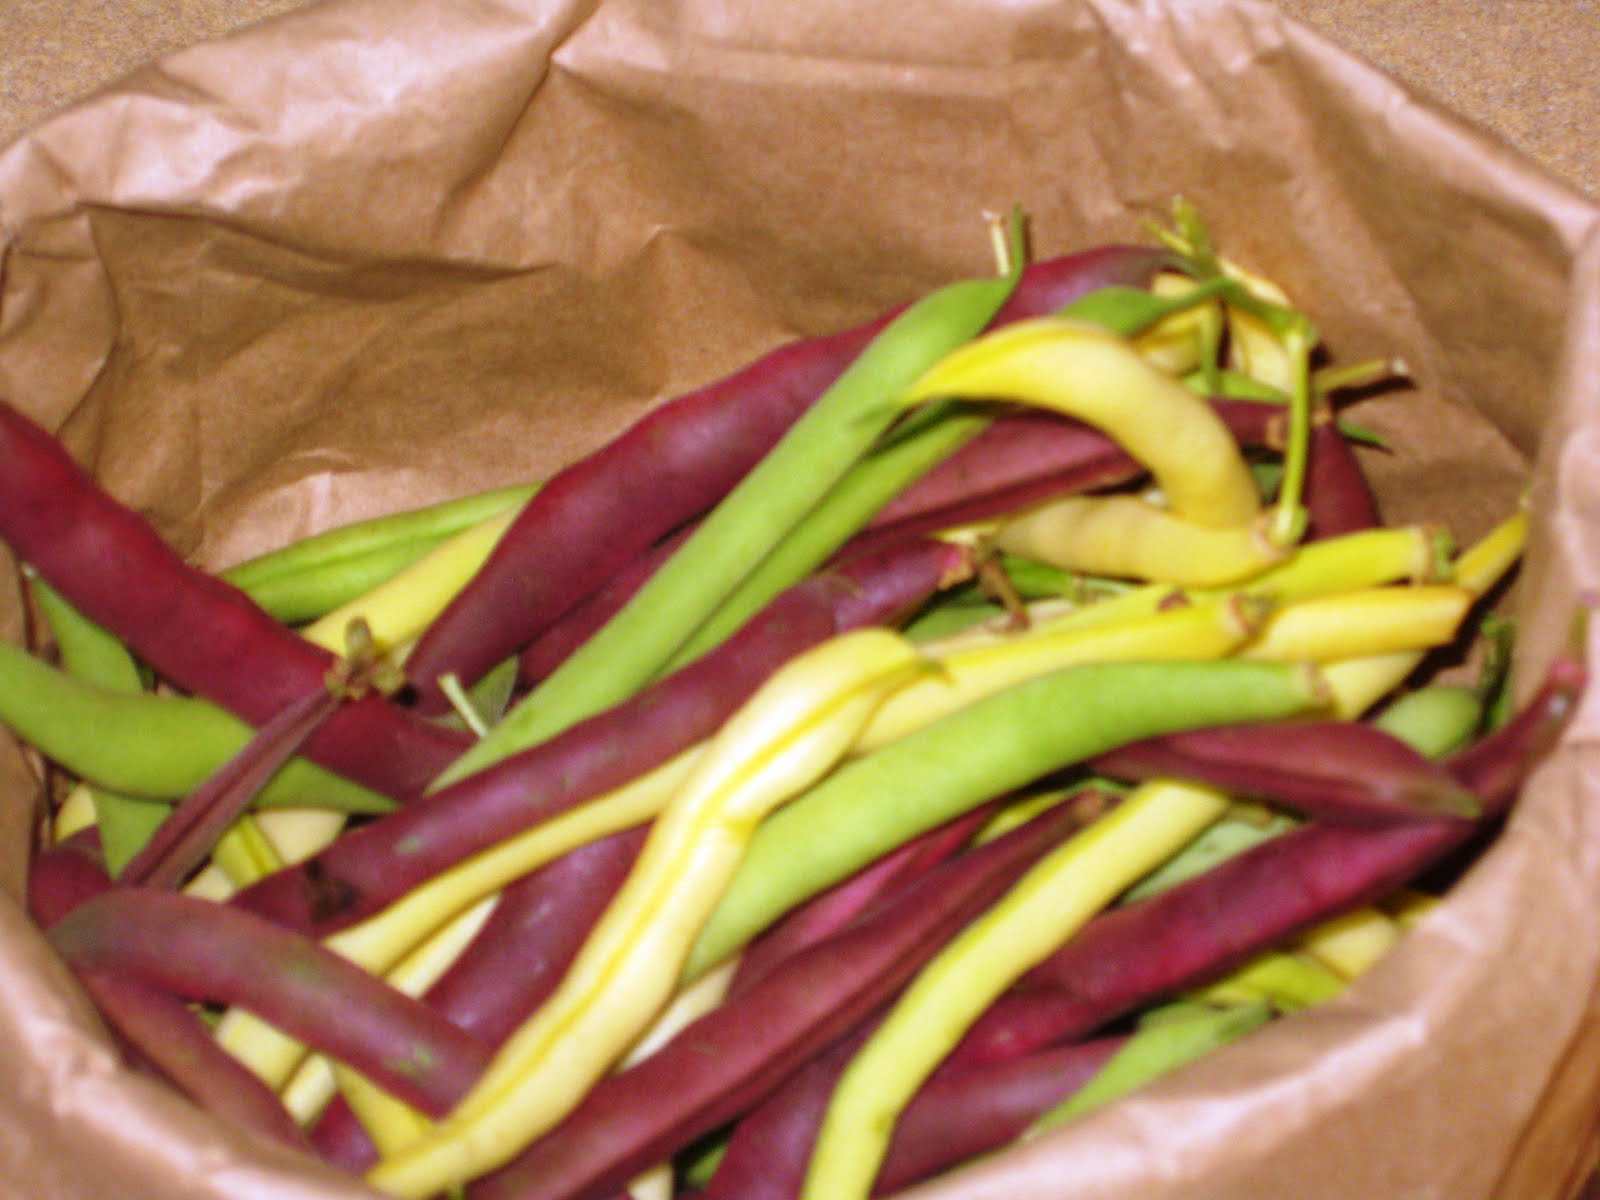
I had the luxury of starting my Saturday morning at the Granville Farmer’s Market. Anna and I strolled through the vendors to find a real treasure! We met Anton from Terra Vita Farms and he introduced us to the Red Swan…a gorgeous red-purple hued bean that instantly caught my eye and drew me in. I love the contrast it provides against the green and yellow beans; and I was really excited to see that gorgeous green center when I cut it open.


Anton explained that the red exterior would turn green when cooked, so I knew that a raw bean salad would be my plan.

Inspired by the handful of colorful beans from Terra Vita Farms and some small yellow tomatoes from another vendor, I started to work on a vinaigrette to dress the salad. I worked with several ideas while creating this recipe and ultimately decided on tarragon for the herb. I think that basil or parsley would be nice alternatives.


Terra Vita Bean Salad

Ingredients:
2 cups green beans, chopped in 1” pieces
1 cup small yellow tomatoes, halved
3 T red onions, julienned in 1” pieces
4 T olive oil
3 T red wine vinegar
1 T lemon juice
1 t Dijon mustard
1 t dried tarragon
Kosher salt & black pepper, to taste

Directions:
Mix the vegetables in a large bowl and set aside. In a small bowl, whisk together the olive oil, red wine vinegar, lemon juice, Dijon, tarragon, salt and pepper. Taste the dressing an adjust seasoning. Pour the dressing over the vegetables and toss lightly to distribute. Cover and refrigerate for at least 1 hour and up to 1 day prior to serving.

Serves 4


The bean salad was crisp, earthy, and fresh. I enjoyed it even more because I had a chance to talk to the person who grew those vegetables for my family. Eating locally tastes better every time!

Here is a sweet picture of Anna, checking out our loot from the farmer’s market.


Originally published August 14, 2010

Bumper Crop Cooking

My mom was my inspiration to dig up new new-to-me recipes for zucchini. One day she told me that she froze SEVENTEEN loaves of zucchini bread! This was all in an attempt to use the zucchini from her garden and anything she inherited from friends. These 17 loaves were in addition to the loaves they ate fresh from the oven and the other recipes that used up zucchini in some fashion.

 
I started to think…there has to be another way. And so began my search for new recipes that breathe life back into those summer staples. You know how the story goes: you grow zucchini and have to use it up, then a friend leaves a bag of it on your porch, a co-worker brings some in to share, and on and on. I hope these recipes will give you a little inspiration the next time you find your countertops piled high with fresh summer zucchini, corn, tomatoes, or cantaloupe.

The recipes included below are:
  • Roasted Tomato Zucchini Boats
  • Grilled Zucchini with Lemon Vinaigrette
  • Baked Zucchini Sticks
  • Carrot Zucchini Muffins
  • Tomatoes Stuffed with Prosciutto and Mozzarella
  • Tomato and Corn Risotto
  • Honey Lime Cantaloupe
  • 20 Ideas for Corn and Cantaloupe
 Roasted Tomato Zucchini Boats

 
Ingredients:

 2 zucchini

 3 cloves garlic, minced

 ¼ c olive oil, plus more for drizzling

 2 t kosher salt

 1 t fresh cracked black pepper

 2 large tomatoes or 4 Roma tomatoes

 ¼ c bread crumbs

 ½ c Mozzarella, shredded or cubed

 ¼ c Parmesan cheese


 Directions:

 
Preheat oven to 350 degrees. In a small bowl, mix the olive oil, minced garlic, salt, and pepper. Taste the mixture and adjust seasonings to taste.

  
Cut the zucchini in half lengthwise. Trim a thin piece off each bottom to help the zucchini sit in the baking dish. Using a spoon, scoop out the seeds in the center of the zucchini. Place zucchini in a 9x13 baking dish. Brush the surface with the mixture of olive oil, garlic, salt, and pepper.

  
Slice the tomatoes into ¼ inch slices. Place the tomatoes along the center of each zucchini. Sprinkle the bread crumbs over the tomatoes and zucchini.

  
Bake for approximately 30 minutes. Remove the baking dish from the oven and sprinkle with mozzarella. Return the dish to the oven and place under the broiler until the cheese begins to brown.

  
Remove from the oven and drizzle with a little olive oil and add a sprinkle of grated parmesan cheese.

  
Grilled Zucchini with Lemon Vinaigrette

 
Ingredients:

 2 zucchini, quartered lengthwise

 1 t olive oil

 Kosher salt and cracked black pepper, to taste

 1 T pine nuts, toasted

 1 T feta cheese, crumbled

 1 T basil, chopped

  
Lemon Vinaigrette:

 1 T olive oil

 ½ T Dijon mustard

 ½ lemon, zest and juice

 Kosher salt and cracked black pepper, to taste

  
Directions:

 Whisk together the vinaigrette ingredients in a small bowl. Adjust the seasonings to taste and set aside.

  
Toss the zucchini with the olive oil and season with the salt and pepper. Grill the zucchini until grill marks appear, approximately 2 minutes. Flip the wedges and grill and additional 2 minutes.

 
Cut each spear in half to create shorter pieces for serving. Transfer to a serving dish.

  
Toss gently with the vinaigrette, pine nuts, feta, and basil.


Baked Zucchini Sticks

 
Ingredients:

 2 large zucchini

 2 eggs

 1/2 cup bread crumbs

 1/2 cup of Parmesan cheese

 ¼ t garlic powder

 1 t dried basil

 1 t dried parsley

 ½ t dried oregano

 Kosher salt and fresh cracked pepper, to taste

 Non-stick cooking spray


 Directions:

 Preheat oven to 400 degrees. Coat a baking sheet with nonstick cooking spray.

  
Trim the ends of the zucchini and then cut in half lengthwise. Cut each half into quarters for a total of 8 spears; cut the spears in half to make them shorter.

 
In a large shallow bowl, combine the bread crumbs, Parmesan cheese and seasonings; mix thoroughly. In another large shallow bowl, beat the eggs. Dip the spears into egg then bread crumb mixture, making sure to coat evenly.

 
Place on baking sheet and spray the top of each spear with cooking spray. Bake for 10-12 minutes then turn the oven to broil and cook, watching carefully, until they become golden brown (approximately 1 minute). Serve with marinara sauce or Ranch dressing.

  
Carrot Zucchini Muffins

 
Ingredients:

 Cooking spray (optional)

 ½ cup all-purpose flour

 ½ cup whole-wheat flour

 2 tablespoons wheat germ

 ½ cup old-fashioned oats

 ¼ cup ground flax seeds

 1 teaspoon baking soda

 1 teaspoon baking powder

 1 teaspoon ground cinnamon

 ¼ t salt

 1 large egg

 ¼ cup packed light brown sugar

 2 tablespoons extra-virgin olive oil

 1 teaspoon vanilla extract

 2/3 cup milk or buttermilk

 ½ cup grated carrots

 ½ cup grated zucchini

 3/4 cup raisins or dried cranberries

  
Directions:

 Preheat the oven to 350 degrees. Line a 24-cup mini muffin pan with paper liners or mist with cooking spray.

 
Whisk the flours, wheat germ, oatmeal, flax seeds, baking soda, baking powder, cinnamon and salt in a large bowl; set aside. Beat the egg and brown sugar in a medium bowl with a wooden spoon until smooth. Add the olive oil, vanilla, milk, vegetables and fruit and mix well.

 
Pour the wet ingredients into the dry mixture and stir just until blended.

 
Spoon the batter into the prepared pan, filling each cup about three-quarters of the way. Bake for 20 to 24 minutes. Remove from the pan and cool on a rack.

 
Tomatoes Stuffed with Prosciutto and Mozzarella

 
Ingredients:

12 Roma tomatoes; halved, seeded, and cored

¼ c olive oil

½ c bread crumbs

 1 garlic clove, minced

 3 oz prosciutto, sliced medium

 ½ cup mozzarella cheese, shredded or small dice

 Salt and pepper, to taste

  
Directions:

 Preheat oven to 350. Heat the oil in a small skillet. Add the bread crumbs and sauté until golden and crisp. The mixture should resemble wet sand; adjust the oil and bread crumbs accordingly to achieve this texture.

 
Transfer the breadcrumbs to a bowl and add the garlic, prosciutto, mozzarella, salt and pepper. Stir to combine.

  
Place 1 T of filling in each tomato half. Place on a baking sheet and bake for 15 minutes. Serve as an appetizer or side dish.


Tomato and Corn Risotto

 
Ingredients:

4 T olive oil, divided

1 T butter

1 ½ c Arborio rice (risotto)

1large shallot, sliced thin

 4 c vegetable broth

 2 ears of corn on the cob, husked & kernels removed

 1 pint cherry tomatoes, halved

 1 t dried basil

 Salt and pepper

 ¼ c parmesan cheese, grated

 Fresh basil or parsley to garnish


 Directions:

 Heat a large skillet or medium saucepan over medium-high heat. Add the butter and 2 T olive oil. When the butter has melted, add the shallot and cook until tender but not brown. Mix in the rice and stir for 30 seconds. Add one cup of broth and stir.

  
Over the next 20 minutes, continue to add ½ to 1 cup of broth and stir; allow the rice to absorb the liquid each time before adding more. Reduce heat if the rice begins to stick.

 
Meanwhile, in a bowl combine the tomatoes, 2 T olive oil, basil, salt and pepper. Reserve the tomato mixture.

 
When there is about 10 minutes and 1 cup of liquid remaining, add the corn kernels to the pan and stir. When the final liquid is almost completely absorbed, turn off the heat. Stir in the parmesan cheese and tomato mixture. Garnish with fresh basil or parsley if desired.

 
Serves 4-6


Honey Lime Cantaloupe

 
Ingredients:

 1 cantaloupe seeded, peeled, and cut into bite-size pieces

 ¼ c honey

 1 lime, zested and juiced

 Fresh mint to garnish


 Directions:

 In a small bowl, whisk together the honey, lime juice, and lime zest. Pour over the melon and toss gently. Serve immediately or allow to chill in the refrigerator for 1 hour to all the flavors to blend.


20 Ideas for Corn and Cantaloupe:

 
Corn

 1. Grill it with the husk off

 2. Add some to your salsa

 3. Sprinkle over your salad

 4. Mix into cornbread batter

 5. Sauté with sliced zucchini, olive oil, salt & pepper

 6. Make homemade creamed corn

 7. Toss with cherry tomatoes, basil, orzo, and red wine vinaigrette for a cool salad

 8. Slather with garlic butter and parmesan cheese

 9. Make a salad with black beans, sweet peppers, and avocados

 10. Freeze ears or kernels…enjoy in the middle of winter!


 Cantaloupe

 1. Scoop balls, drizzle with honey, lime juice & zest

 2. Cut into chunks and wrap with prosciutto

 3. Make a salsa for fish: dice melon, red onion, cilantro; mix with lime juice and salt

 4. Grill it, drizzle with balsamic vinegar, and serve with pork

 5. Serve with blueberries, granola, and yogurt for breakfast

 6. Puree with honey, lemon, ginger, and milk or yogurt for a cold summer soup

 7. Puree with gingerroot to make a salad dressing

 8. Serve with blueberries, vanilla ice cream, and balsamic glaze for dessert

 9. Freeze chunks and add them to a strawberry smoothie

 10. Make a granita by blending with brown sugar, freezing, and crushing

 
Originally published July 29, 2010

A Big Bowl Of Vegetables

One of our favorite things to eat at home is vegetarian enchiladas. Since it takes awhile to dice all of the veggies, I needed a bigger motivation to do the work. And so… “A Big Bowl of Vegetables” was born!  


By chopping a lot of vegetables at once, I save time in the evenings because most of my prep work for dinner is already completed. The bowl of veggies can hang out in the refrigerator for one week in an airtight container. (You might also choose to divide some out into freezer bags and store in the freezer for up to 3 months.)

This a great method to use when you want to take advantage of the bounty from your garden or a local farmer’s market. Are you cooking for a household divided between carnivore and herbivore? This is for you too! We especially love to use this method during our frequent flirtations with a vegetarian diet; however, you will find there are plenty of places to add some meat if you so choose.

Some of my favorite uses for our Big Bowl of Vegetables include:

• Vegetable and Black Bean Enchiladas (see recipe below) – ground turkey is a great addition for a lean protein
• Vegetarian Lasagna (see recipe below) – add some ground beef or sausage if you want meat in your dish
• Asian Lettuce Wraps (see recipe below)
• Confetti Pasta Toss – sauté the veggies with garlic, olive oil, salt, and pepper; toss with small shells or penne, and parmesan cheese
• Baked Potato Topper – sauté with olive oil, garlic powder, onion powder, salt, and pepper; spoon onto the top of a baked potato for a satisfying lunch (also great with a little salsa or Ranch dressing!)

How to Make a Big Bowl of Vegetables:

Ingredients:
2 Yellow squash
2 Zucchini
4 Carrots
2 Broccoli crowns
½ Head Cauliflower
1 each red, yellow, & orange bell peppers

* Yields approximately 15 cups of chopped vegetables

Directions:
Chop all vegetables into ¼” pieces and mix together in a big bowl. Cover the bowl with a lid or tightly sealing plastic wrap. Store in the refrigerator for up to a week. Freeze in a zip-top bag for up to 3 months.


Vegetable and Black Bean Enchiladas

Ingredients:
5 cups of vegetable mixture
8 whole wheat tortillas
1 can black beans, drained & rinsed
2 cups shredded cheese (cheddar, jack, Colby, mozzarella, etc)
10 oz can green enchilada sauce or 1 jar salsa
3 Tablespoons canola or vegetable oil
1 recipe of the spice mix (see below)

Spice Mix:
2 Tablespoons Cumin
1 Tablespoon Coriander
½ teaspoon onion powder
¼ teaspoon garlic powder
1/8 teaspoon cayenne
1 teaspoon kosher salt
½ teaspoon fresh ground black pepper

Directions:
Heat 3 Tablespoons of oil over medium-high heat. Add black beans and 5 cups of the vegetable mixture to the pan. Cook vegetables for 3-5 minutes, stirring occasionally. Add spice mixture and stir to combine; be sure to distribute evenly throughout the bean and vegetable mixture. If the mixture seems dry, gradually add ¼ to ½ cup of water and stir to combine. Cook vegetables to desired level of doneness. Remove pan from heat and cool slightly.

Meanwhile, heat oven to 375o. Spray a 9x13 baking dish with nonstick spray. When the mixture is cool enough to handle, scoop ½ cup of the filling into each tortilla. Take 1 cup of the cheese and divide evenly among the enchiladas. Roll each enchilada and place in the baking dish. Cover the enchiladas with the sauce or salsa; sprinkle remaining cheese on top. Bake for 20 minutes or until the cheese begins to brown. Serve with sour cream and guacamole.

Vegetarian Lasagna

Ingredients:
3Tablespoons extra virgin olive oil
4 garlic cloves, minced
5 cups of vegetable mixture
2 Tablespoons dried basil
1 teaspoon dried oregano
2 Tablespoons tomato paste
28 oz can crushed tomatoes
16 oz can diced tomatoes
30oz ricotta
4 cups shredded mozzarella, divided
4 Tablespoons dried parsley
Salt & pepper to taste
1 box no-boil lasagna noodles

Directions:
To make the sauce: Heat oil in a large skillet over medium high heat. Add garlic, vegetables, and herbs; be careful not to burn the garlic. Cook for 3 minutes, stirring occasionally. Add tomato paste and cook for another 5-7 minutes, stirring occasionally. Add the crushed and diced tomatoes; stir to combine well. Simmer on low heat for 20 minutes.

Meanwhile, in a large bowl, mix ricotta, 2 cups mozzarella, parsley, salt and pepper.

Using a ladle, add enough sauce to the baking dish to thinly coat the bottom. Lay down a layer of noodles, breaking them into smaller pieces, as needed, to fill in the gaps. Spread half of the ricotta mixture over the noodles, then cover with a layer of sauce and vegetables. Continue to layer noodles, cheese, sauce. Top with the remaining 2 cups mozzarella cheese.

Bake in a 375o oven for approximately 35 minutes or until the cheese begins to bubble and brown. Remove from oven and allow to sit for 15 minutes before cutting.


Asian Lettuce Wraps

Ingredients:
1 head of iceberg lettuce or 16 Bibb lettuce leaves
1 pound ground chicken
2 tablespoons canola or vegetable oil
2 Tablespoons minced ginger root
4 cloves garlic, minced
1 red bell pepper, seeded and sliced thinly
4 Tablespoons soy sauce
Salt & pepper, to taste
2 carrots, shredded
1 small onion, chopped small
1 broccoli crown, chopped very small
3 green onions, thinly sliced (white & green parts)
2 teaspoons sesame oil

* Vegetable alternative: 1 cup from “Big Bowl of Vegetables”

Directions:
Rinse lettuce leaves, keeping them whole. Set aside to drain.

Cook chicken in a large skillet over medium heat, stirring often to break up the meat. Add onion, garlic, soy sauce, ginger, and salt & pepper. Cook until the meat is crumbled and brown. Add green onions and cook until onions begin to wilt, about 2 minutes.

Stir in sesame oil. Arrange lettuce leaves on the outer edge of a platter. Spoon meat mixture in center. Allow diners to spoon meat mixture into lettuce leaves and eat like a taco.

Originally published July 27, 2010

Life On The Go

How I Do It

My job is interesting and so much fun. That's just my humble opinion, but it's kind of true. In an attempt to demystify this little-known profession, I am starting a series called Life On The Go. I hope you will follow along with me to learn more about what I do, how I do it, and why I love it so much. Thanks for being part of my journey!


How do I do it? First of all, I bring it all with me. When I go to my clients' homes to cook, I pack everything I need from trash bags and dish soap to groceries and wooden spoons. This is a peek into the back of my car (before I get the groceries).

From left to right, here is some of what you are seeing:
  • caddy with Pam, olive oil, canola oil & thermometers to keep next to the stove
  • crate with pans, skillets, and lids
  • bucket of cleaning supplies, trash bags, & paper towels
  • bag full of really big mixing bowls, smaller prep bowls, and large liquid measuring cups
  • 3-tier box that comes apart
    • top: cooking utensils, lots of knives, and small tools
    • middle: dry pantry items such as spices, grains, vinegar, etc.
    • bottom: containers, bags, and boxes to package the food; dish towels, apron
  • clip-board with my plans for the day
  • binder with my recipes for the week
  • sweet little Vera Bradley bag (a gift from a friend!) that holds my cell phone, business cards, pens, and other little items I might need
Hidden from view:
  • bag with 2 cutting boards for vegetables, 2 boards for meat, and several sheet trays
  • small cooler to transport perishable items
  • lots of reusable grocery bags
  • really big boxes of plastic wrap and foil


 When I arrive at my client's house, I set up several stations for cutting vegetables/meat, washing dishes, packaging food, and even a pantry. The pantry is a combination of the spices, grains and other things I brought with me plus the items I bought at the store that don't need to be refrigerated immediately. Here is a view of my pantry one day:


 I try to maximize every bit of space in the kitchen. In the picture below, you will find:

  • pantry to the left of the stove
  • several dishes cooking at the same time on the stove (and probably something in the oven too!)
  • oils, thermometers, and utensils to the right of the stove


What's cooking today? There is a Mild Beef Curry simmering on the back burner and the start of a Bell Pepper Pasta Sauce on the front burner. Yummy!

 
Once all of the food is cooked, cooled, packaged, and labeled, it goes into the freezer. Check out all of the foil-wrapped packages - that is the food I am leaving behind for my client. Each box is labeled with the name of the dish, date it is frozen, and heating instructions.


It's also nice to leave something fresh in the refrigerator. This family will enjoy a spinach salad with strawberries, yellow bell pepper, and homemade poppy seed dressing. It's a great accompaniment to their dinners on a warm summer evening.

 I hope you enjoyed a little look at my day! Please come back to see more about how Dinner On The Go works!
 
Originally published June 19, 2010


Try It, You’ll Like It (Big Flavors for Little Palates)

Anna's First Foods

* Disclaimer: This is just a little bit about our journey and simply my opinions. Please consult your doctor about how and when to introduce solid foods to your baby.

My baby girl is getting ready for the wide world of solid foods. I can’t believe she is growing so fast! This means that my kitchen is about to get messier (is that even possible?!) and my food processor will once again take center stage on my counter.

I choose to make our own baby food for several reasons:
• I have complete control over what goes into each bite.
• The food retains more nutrients.
• The flavor is truer to the original food than what you find in most jars.
• I cook from scratch for the rest of my family, so it is only natural that I want to do it for my littlest eater as well.

This weekend I made several starter foods for her that are simple flavors I can enhance.
• Sweet Potatoes – It’s a great first food! Once she is established with it, then I will add a little bit of ground cinnamon and freshly grated nutmeg as well.
• Peas – I pureed half of the peas with some fresh mint for a bright flavor and a little variety.
• Carrots – Ground ginger is nice to pair with the carrots.
• Peaches – Fresh summer peaches can’t be beat!

These recipes will keep Anna busy over the next couple of weeks while I plot my next round of pureeing for her.

Here is my basic process for pureeing fruits and vegetables for baby food:
• Wash the fruit/vegetable
• Peel if necessary (I peel carrots prior to cooking but wait to remove most other skins until after the food is cooked. The skins will be easier to remove and will help the food to retain flavor and nutrients.)
• Cut into similar-sized pieces so they cook at the same rate
• Steam until soft. I prefer to use a steam basket on the stove and never use the microwave.
• Allow the food to cool until it is comfortable to touch; remove outer skins if necessary.
• Puree in a food processor to desired consistency. I make it silky smooth in the beginning and then a little thicker as they grow and develop.
• I prefer to use the snack-size bags and freeze them flat to allow for easy storage. You might also choose to freeze in those handy baby food freezer trays, plastic freezer jars, or larger zip-top freezer bags.
• Label the bag with the contents and date it is being frozen. You might also add the amount in the bag (1 cup, 4 ounces, etc.) if that is important to you.
• Use within 3 months for best results.
• To use, place the bag in the refrigerator and allow to thaw overnight.

Babies are armed with lots of taste buds that are ready to try new flavors! Introduce them slowly to allow baby time to adjust and to observe for allergic reactions, but don’t be afraid to introduce herbs and spices along with your fruits and vegetables.

Originally published June 7, 2010